What To Expect During Seamless Gutter Installation Process
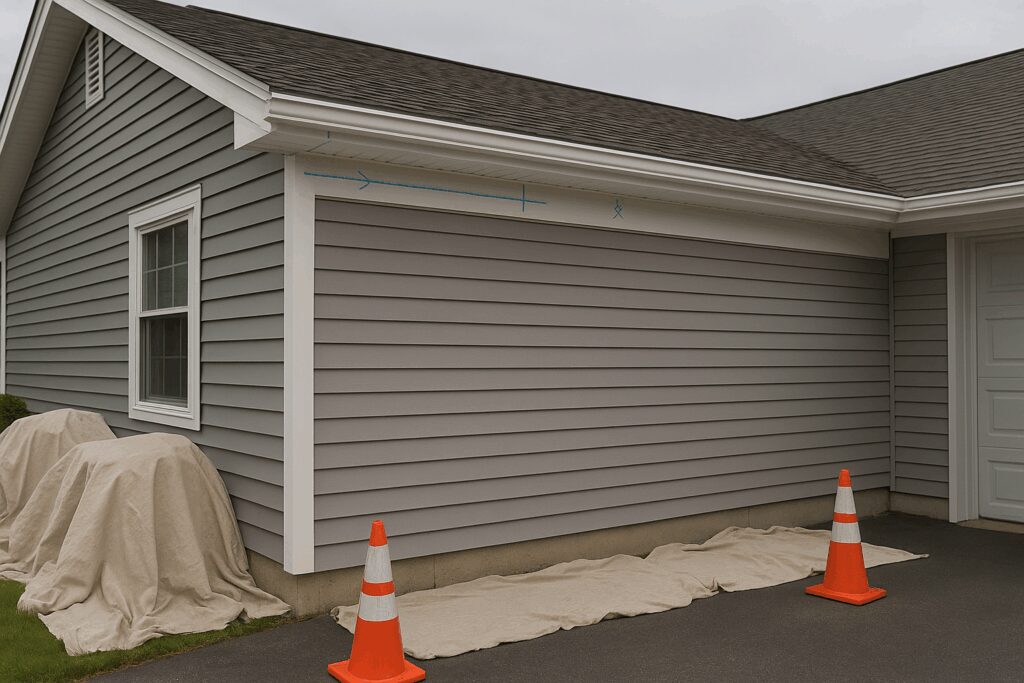
Your crew will arrive on time, walk the perimeter with you, and confirm the scope before tools leave the truck. Expect ladder safety gear, drop cloths to protect plantings, and clear staging areas for the roll-former and material stands. The lead tech will mark outlet locations, corner miters, and run directions so everyone sees the plan. If the weather is iffy, we confirm that sealants can cure and that work areas stay dry. For a quick refresher on system differences, compare designs in our post on Rain Gutter Installers Near Me: Seamless vs. Sectional.

Seamless Gutter Installation Process: Measuring, Pitch, and Layout
The installation day starts with careful measurements and a layout that balances performance with curb appeal. We verify the total footage, map every inside and outside corner, and confirm where roof valleys merge. Then we set a subtle slope toward each outlet so water moves freely without looking crooked from the ground.
- Locating outlets. Outlets belong at or just past valley terminations and at mid span on long walls. This prevents corner overflows and standing water.
- Corner planning. Inside and outside corners see the heaviest flow. We choose the miter style and sealant approach that suits the profile and exposure.
- Slope verification. A laser or level sets the fall. After hanging, we recheck the pitch from the ground and from a ladder to confirm both function and sight lines.
Tip: If you plan to add rain barrels or diverters later, tell the crew now so we can place an outlet at the right height and location.
Seamless Gutter Installation Process: On-Site Roll Forming Explained
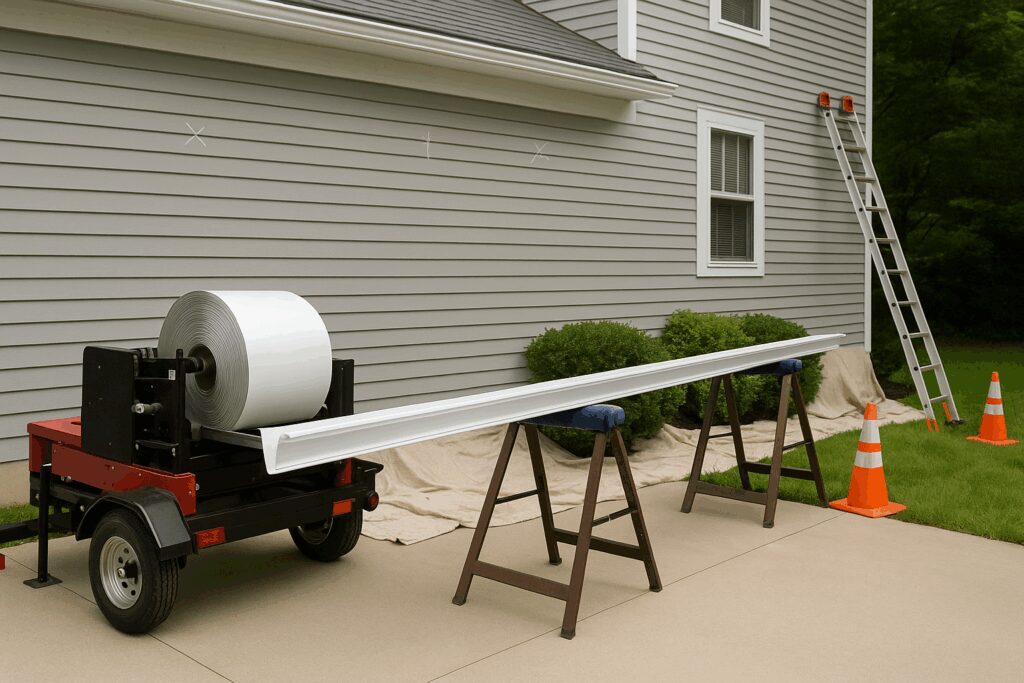
The hallmark of seamless gutter installation is forming each run to the exact length of your eave. A coil of color-matched metal feeds into the portable roll-former and emerges as a continuous K-style channel. No factory seams means far fewer places for debris to snag or water to escape.
- Coil to continuous run. The coil passes through forming dies that shape the profile. We cut the run to length and place it on padded stands to avoid scuffs.
- Handling long pieces. Extra hands guide long sections straight from the machine to the wall, so there is no twist or buckle.
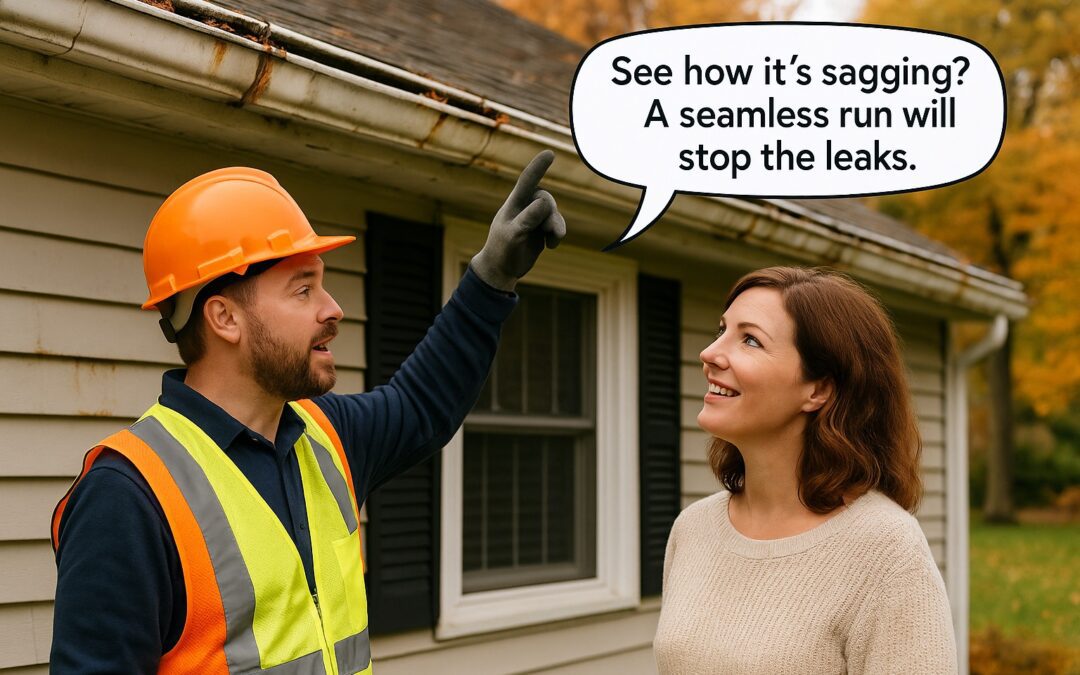
- Fewer joints, fewer callbacks. With only end caps and corners to seal, routine maintenance is simpler, and long-term reliability improves. For a deeper dive on benefits, read Why Seamless Gutters in Maine Are Superior to Traditional Options.

Seamless Gutter Installation Process: Hangers, Fasteners, and Spacing
Solid fastening is what keeps the channel straight in wind and snow. We use hidden hangers inside the trough and corrosion-resistant screws set on a pattern matched to local loads and wall type.
- Hidden hangers. These clips are under the front bead and screw into the sound fascia. The result is a clean look with firm support.
- Screw types. We select coated fasteners that are compatible with the gutter metal and the coastal environment. For reference on materials and coatings, see the ICC-ES evaluation resources.
- Spacing for climate. Consistent spacing keeps the profile rigid during snow slides and in gusty conditions. We avoid over spanning and we reinforce tall leaders with discreet straps.
Before fastening, we check that the fascia is straight and solid. If wood is soft or wavy, we repair or shim so the new channel sits true and holds pitch. From the ground, we balance optical straightness with function so the run looks level yet drains like it should.
Seamless Gutter Installation Process: Corners, Outlets, and Sealing
Corners, outlets, and end caps are the few places where sealant matters. Clean metal, proper fit, and patient curing make the difference between a drip and a durable joint.
- Box vs. strip miters. Box miters install quickly and look crisp. Strip miters create a sleek seam with careful sealing. We choose based on profile, exposure, and your trim style.
- Sealant best practices. We clean and dry the joint, apply a compatible sealant, and tool a smooth bead. Thin edges and rushed cures are avoided.
- Leak testing. A controlled hose test checks corners and outlets before ladders come down. Any weeps get resealed and retested on the spot.
Metal moves with temperature. We shape beads to flex, and we leave tiny expansion allowances where required so joints stay tight through freeze and thaw cycles.
Seamless Gutter Installation Process: Downspouts and Discharge Planning
Downspouts are where water leaves the system, so smart routing matters. We size leaders for the roof area and leaf load, then choose a path that keeps the flow smooth and people dry.
- Leader sizing. Larger leaders handle pine needles and summer cloudbursts better. Where valleys feed a short run, we may use paired outlets.
- Fewer elbows, smoother flow. Gentle turns carry debris past joints. Tight zigzags become clog points and are avoided whenever possible.
- Splash blocks vs. extensions. Splash blocks protect patios. Hinged extensions move water into the yard and flip up for mowing. For four-season performance and homeowner feedback, see Why Homeowners Trust Seamless Gutters in Maine for Year-Round Protection.
We finish by confirming that discharge ends on a grade that slopes away. Working with rain gutter installers near me also helps align outlet placement with local grading habits and municipal stormwater guidance.
Seamless Gutter Installation Process: Cleanup, Inspection, and Warranties
A tidy close-out is part of a professional job. Expect debris haul off, a magnet sweep for stray screws, and photo verification of hanger spacing, corners, and outlets.
- Debris and scrap. Offcuts, end caps, and packaging leave with us. Your lawn and walks should look the same as when we arrived.
- Final inspection. We check pitch, hanger spacing, and downspout connections, then review the photo set so you can see what changed.
- Warranties and care. You receive written workmanship and finish terms, plus simple care notes. Keep them with your home records.
Those photos make future maintenance easy. If a branch ever fails a run, you will know exactly how the system is built and where the outlets and hangers are located.
Wrap Up and Prep Checklist with Rain Gutter Installers Near Me
Use this simple list to make install day smooth and to keep communication clear with rain gutter installers near me. For homeowner expectations on project days, this quick overview from This Old House is also helpful.
- Clear access. Move cars from the driveway. Unlock gates. Shift grills and furniture from under eaves.
- Protect landscaping. Flag delicate shrubs and ask for staging pads if the crew will set stands near beds.
- Confirm outlets. Point out heavy flow valleys, future rain barrel spots, and areas that need extra drainage.
- Pets and kids. Keep them indoors or supervised while ladders are up.
- Walkthrough. Before the crew leaves, review photos of hanger spacing, corners, and discharge routes. Ask how to flip extensions up for mowing.
- Follow up. Save the warranty and care notes. After the first big storm, do a quick visual to confirm smooth flow.
Maine Gutter Works is a Maine-owned installer that values clean workmanship, jobsite safety, and long-term reliability. If you are ready for a clear plan and a tidy install, request a no-pressure visit today.


Recent Comments